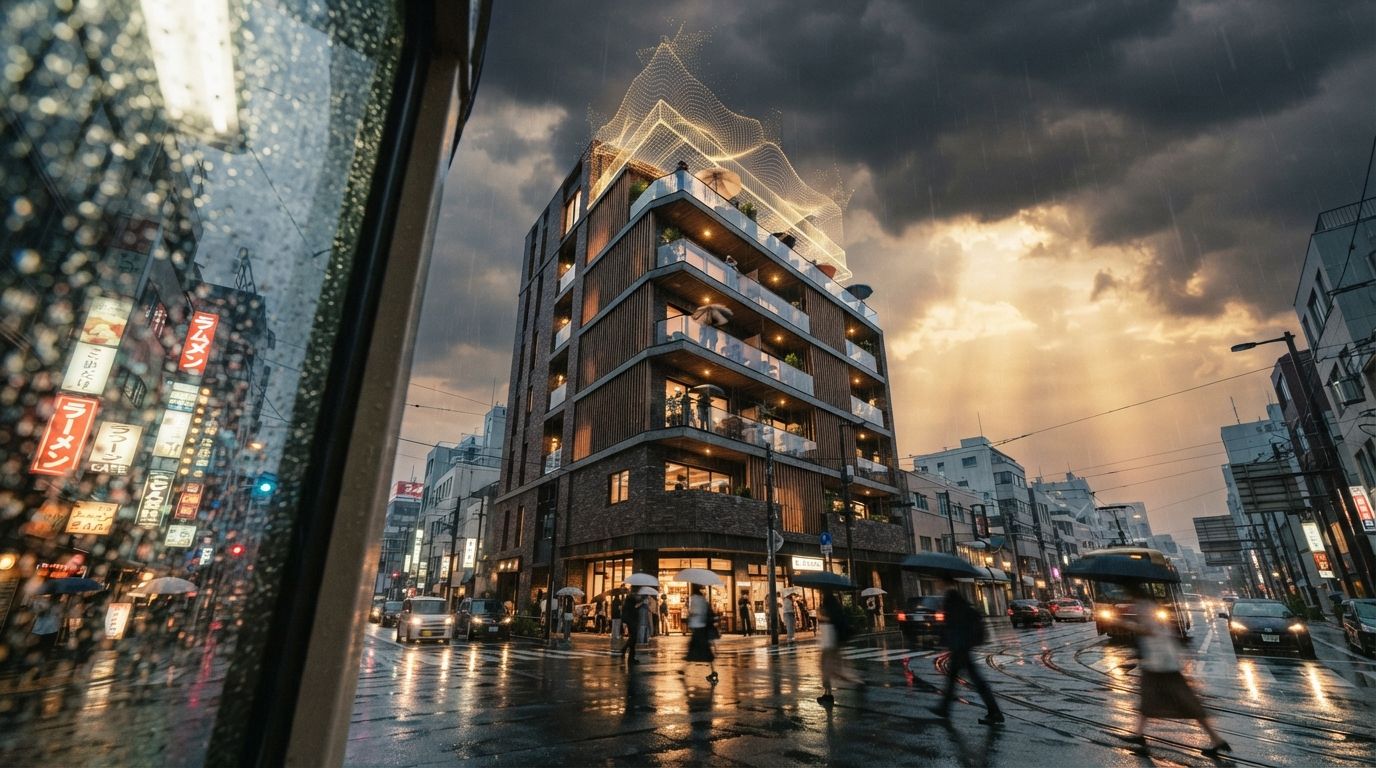
Most ComfyUI tutorials show you how to make a hero render of a Tuscan villa. That's not the test. The test is whether the workflow holds up on a four-storey mixed-use scheme on a tight site, with surrounding buildings, awkward overshadowing, and a brief that calls for both day and dusk passes.
This guide walks through the ComfyUI pipeline we use at Vista for exterior renders on real projects. It assumes you've installed ComfyUI and the Manager, and that you can drag nodes onto the canvas without panicking. Everything else is here.
Why exterior workflows are hard
Interior renders are forgiving. The room is contained. Light is controlled. Materials are limited. Mistakes hide in the shadows.
Exteriors are unforgiving. You have to handle weather, sky, ground cover, vegetation, surrounding buildings, time of day, atmospheric perspective, and entourage, all of which the model wants to invent freely if you let it. The whole job of the workflow is constraining the model to your geometry while still letting it do the things it's good at.
The pipeline below has four passes. Geometry. Material. Context. Light. Each one is a separate run. Trying to do them all in one pass is the most common reason ComfyUI exterior workflows fail.
The base workflow
Start with txt2img → ControlNet Depth → KSampler → Upscale. This is the spine of every exterior render we make.
The depth ControlNet is doing the heavy lifting. It tells Flux exactly where your masses are, what's in front of what, and where the openings sit. Without it, the model invents geometry. With it, the model fills in materiality on top of your geometry.
The end value of 0.7 on the ControlNet matters. Setting it to 1.0 (full strength to the end of the diffusion) makes the render look stiff and CGI-like. Releasing it at 0.7 lets the last few denoising steps refine the materials without forcing the geometry. We landed on 0.7 after about a week of testing. It's not negotiable.
Generate the depth pass directly from your 3D software. Don't let ComfyUI's MiDaS depth estimator handle it, MiDaS guesses depth from the rendered image and gets architectural geometry wrong about 30% of the time. SketchUp's Z-Depth render output is free and accurate.
The material pass
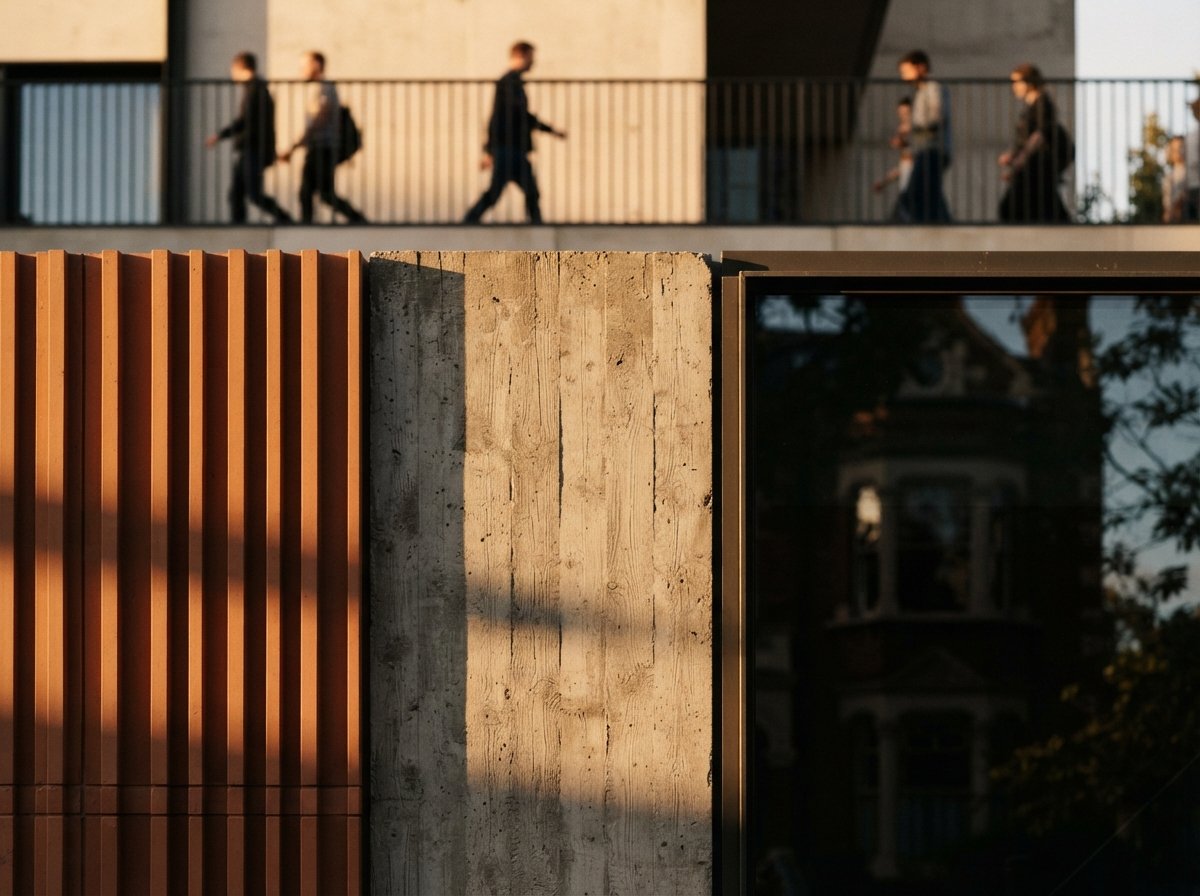
Once the base render looks right structurally, the material pass refines surfaces. This is where you get concrete that looks like concrete instead of plaster, glass that reads as glass instead of acrylic, and corten steel that has actual texture rather than orange paint.
The material pass is an img2img run on the base output, with a tighter prompt and reduced denoise.
Denoise at 0.45 is the sweet spot. Below 0.35 the material change is invisible. Above 0.6 the geometry starts drifting. We've tested every value in between for two years. 0.45 is the answer for exteriors.
Run this pass once per material region. If you have a brick base, concrete middle, and zinc roof, that's three runs with three masks. Don't try to prompt all three materials in one pass, Flux will average them and you'll get something halfway between, which is exactly the AI slop look we're trying to avoid.
Specific material prompts that work for us, after extensive testing:
- Concrete: "board-formed concrete with [60mm/100mm/200mm] boards, [weathered grey/warm beige/cool grey] patina, visible tie holes, slight surface variation"
- Glass: "low-iron architectural glazing, slight green tint, mullion shadows, faint reflection of sky and surroundings, no fisheye distortion"
- Corten steel: "weathered corten steel cladding, deep rust patina, vertical seams every 600mm, runoff staining at the base"
- Brick: "stack-bonded brick, hand-thrown red clay, 10mm raked mortar joints, slight efflorescence, occasional darker brick"
The pattern is the same: name the material, name the surface treatment, name a defect or imperfection. The defect is what makes it look real. New brick looks fake. Brick with efflorescence looks like a building.
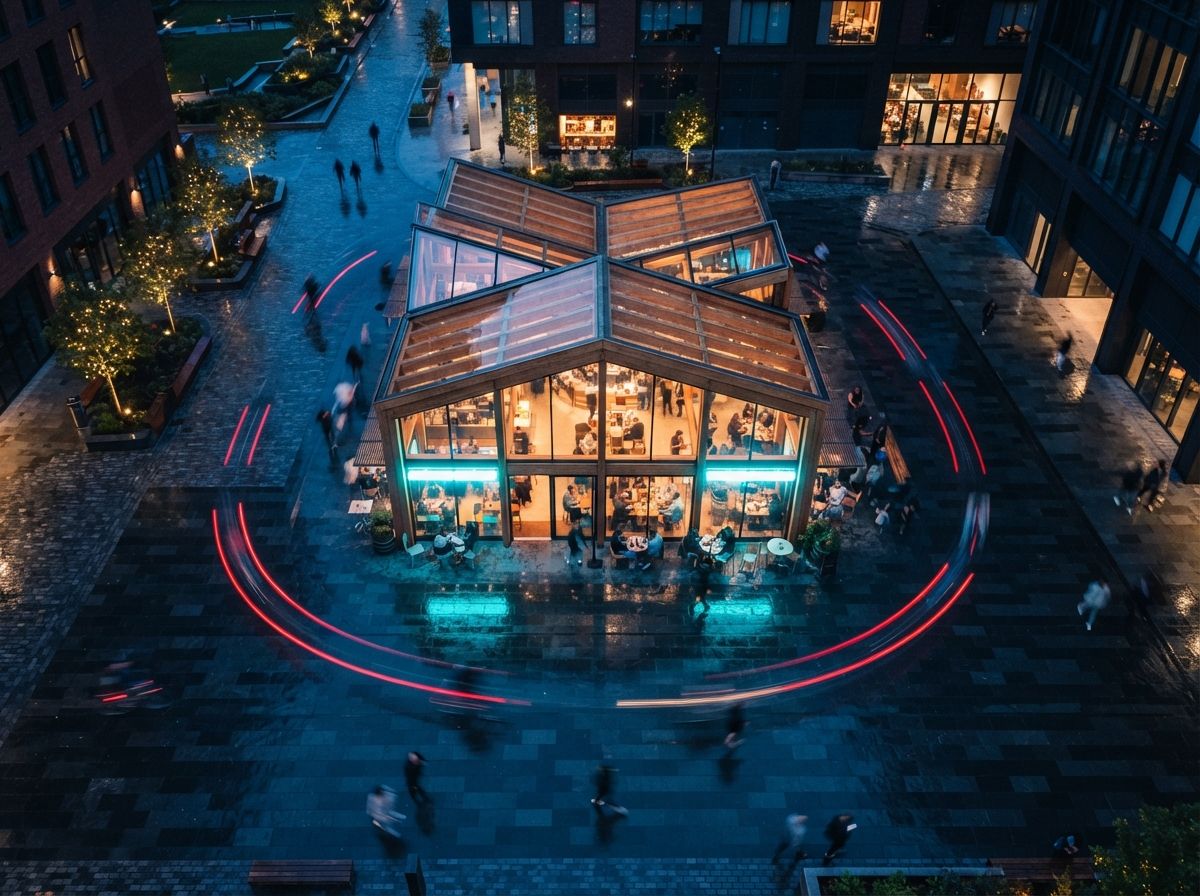
Adding site context
Once your building looks right, the surrounding context needs to look right too. This is where most ComfyUI exterior workflows get bad. The model invents Hollywood Hills behind a project that's actually in Stratford.
The fix is inpainting the surroundings using a real-context reference. Take a Google Street View screenshot from the actual site, generate a depth pass from it, and use that as the inpaint mask source.
IPAdapter weight of 0.55 lets the model take visual cues from your reference photo without copying it directly. Push it to 0.8 and you'll get an obvious paste-up. Drop it to 0.3 and the surroundings look generic.
Mask carefully at the building edge. ComfyUI's default inpaint blends across mask boundaries with a hard edge that often shows. Add an Image Blur node on the mask itself (radius: 6 to 12px) to feather the transition. Your building won't look pasted.
The lighting pass
Last pass. Now you have a building with the right materials in the right context. The final job is lighting, establishing time of day, sun angle, weather, and atmosphere.
Use img2img one more time, with a low denoise and a heavy lighting prompt:
Denoise stays low here, 0.30, because you don't want the building or context changing, just the light treatment. The cfg goes up to 5.5 because the lighting prompt needs to be heard loud over the existing image.
For multiple time-of-day passes (the brief that asks for "morning, midday, dusk, night"), just re-run the lighting pass with a different prompt and the same input image. Forty seconds per variant. The whole set takes three minutes.
The hard part of ComfyUI isn't the nodes. It's the discipline to run four passes instead of trying to do everything in one.
Common ComfyUI gotchas
Memory crashes on 8GB cards. Flux full-precision needs 24GB VRAM. The fp8 quantised version runs on 12GB. The Q4 GGUF version runs on 8GB but the quality drop is real. If you're on a consumer GPU, plan for fp8 minimum.
The "loaded checkpoint mismatch" error. Almost always means your ControlNet is for SDXL and your base is Flux, or vice versa. They're not interchangeable. Match the family.
Saved workflows breaking after a Manager update. Custom nodes get renamed or deprecated. Pin your custom node versions in the Manager. Don't auto-update mid-project.
Outputs at 1024px not enlarging cleanly. ComfyUI's built-in upscale nodes are weak. Export to Leonardo Universal Upscaler or Topaz Gigapixel for the final 4K. Don't try to upscale inside ComfyUI for client work.
Recommended node packs
Install these from the Manager. They're the only ones we use regularly enough to mention.
- ComfyUI-Advanced-ControlNet, better timing controls, including the start/end values used above.
- ComfyUI_IPAdapter_plus, required for the context pass. The site-reference workflow won't work without it.
- ComfyUI-Impact-Pack, better sampler nodes, mask handling, detailer for fixing facade details after the main render.
- ComfyUI-AnimateDiff, only if you want to do video walkthroughs from your stills. Not strictly architectural, but useful.
- rgthree-comfy, quality-of-life nodes for managing complex graphs. You'll want this by your fifth workflow.
Skip the rest. The temptation in ComfyUI is to install everything you see on Reddit. Don't. A clean install with these five packs will handle 95% of architecture work, and your workflows won't break every Sunday.
What to do next
Build the base workflow first. Get a single exterior render through the full four-pass pipeline. Don't worry about quality, worry about completing the chain. Once you've done that, every subsequent project is a matter of swapping the depth pass and the prompts.
The whole pipeline takes about 25 to 35 minutes of compute on a decent GPU, plus 10 minutes of human time choosing prompts and masking. That's faster than V-Ray for the same quality on a non-trivial scheme. It's also more flexible, try four lighting variants in three minutes, instead of re-rendering the scene.
If your firm hasn't moved on ComfyUI yet, this is the workflow worth starting with. It'll feel slow for the first three projects. By the fifth, you won't go back.
Pipeline tested by Vista Studios on twelve live projects since November 2025. Compute on RTX 4090. Models: Flux dev fp8.